Introduction
Button of the Month Project
This post is part of my Button of the Month project – an ongoing series where I explore and share different traditional, maybe also lesser-known as well as my own experimenting with button making techniques throughout the year.
Rather than following a strict calendar (January = this button, February = that one), Button of the Month is about giving each type of button the time and attention it deserves. That might mean 10 or 11 buttons in a year instead of 12 – and that’s absolutely fine. Who’s counting? 😅 This project is definitely more about the learning, my curiosity for understanding how things work, being mindful of the process of crafting a button by hand. It’s definitely not about racing against the clock and cramming as many buttons as I can possibly do in one year…
Episode #1: The Yorkshire Button
I chose to start the series with the Yorkshire Button because it’s one I find particularly mindful to make, that’s quite popular and better known already amongst knitters, crocheters and other textile crafters. The method to make it and its history often raise a few questions. I am hoping that by the end of this blog and the accompanying videos, I will have answered all your questions – or at least the ones which are asked the most often – and maybe you will have learnt one fact that you did not know before.
A couple of personal notes as well before we start our discovery of the Yorskhire button:
– This first Button of the Month has taken a little longer to come together than I had planned. I’ve been dealing with ongoing fibromyalgia and arthritis symptoms, which means I sometimes have to slow down, listen to my body and prioritise essential work (like sending orders out) over everything else. Thank you so much for your patience and understanding – sustainable craft is not just about recycling materials, it also means pacing and taking care of yourself 💚
– Although I already have a list of buttons that I want to explore this year, the whole project will be taking shape as I go along and learn how to make better videos, write blogs, etc… A lot of this is rather new to me and I welcome your feedback (which you can add in the comments below) so that I can improve every step of the way… Thank you for being on this journey with me! 💚
What is a Yorkshire Button?
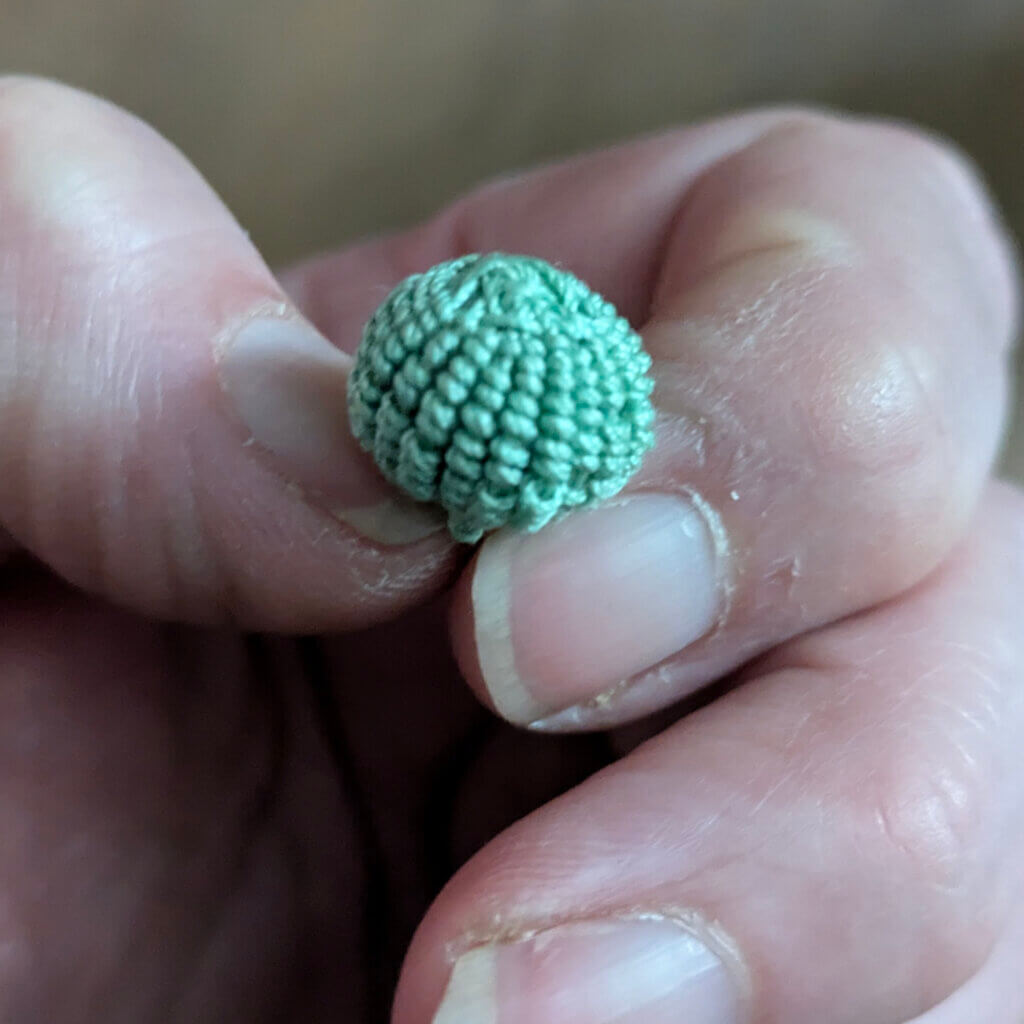
The Yorkshire Button is often confused with the Dorset Button (in particular the cartwheel and the grindle), but despite the similarity in the techniques or the stitches, they are very different in construction and appearance.
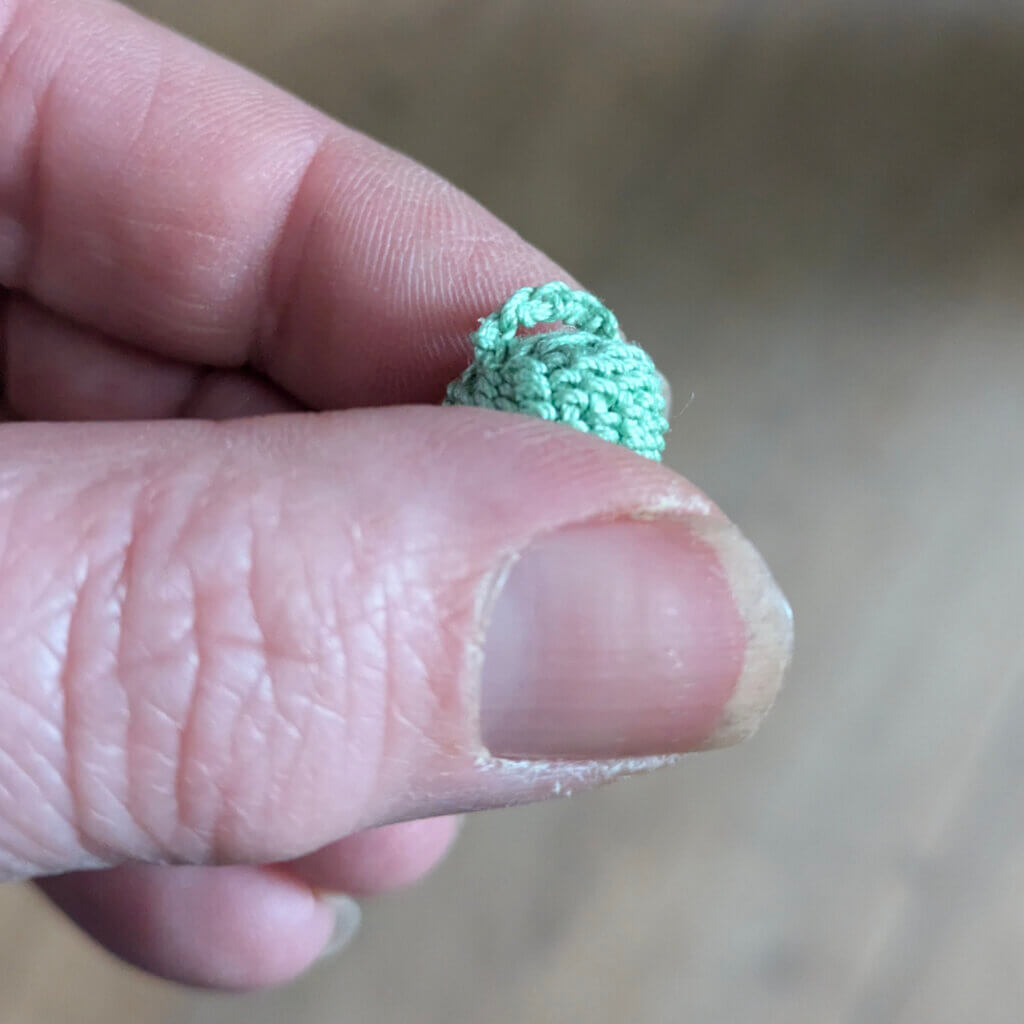
Unlike the Dorset button which is usually made around a mould (which means that it is an integral part of the button), the Yorkshire is made on a small circular loom and finished by removing the “shell” of the button off the loom. The loom can then be reused many times to make many more buttons. The Yorkshire button is often described as a button made of woven fabric.
Where does the Yorkshire Button come from?
Notes on my research
There is very little written historical information about the Yorkshire Button – if any in fact! I really wanted to try and find some traces of its origins. Since I don’t live in Yorkshire, my research involved trying to find as many old books as I could get my hands on online. I highly recommend the Internet Archive website for this. I find this website so fascinating! Just a word of warning… once you are there, it’s difficult to click off it too ahah. I also have various books about the history of the button – and whilst they all include some form of textile buttons, the Yorkshire button is not as much as mentioned in any of them. It is generally believed to have originated in the Yorkshire region, hence its name, but I have not found any clear documentary evidence yet.
Resources
Here a very small list of the books I’ve spent time searching through, including related to the history of Yorkshire and its textile traditions:
- A History of Yorkshire – Michael Pocock
- Yorkshire History: Early Years – Richard Batchelor
- Hannah in Yorkshire – Barry Cockcroft
- Yorkshire Craftsmen at Work – David Morgan Rees
So far, these searches haven’t revealed any direct mention of the Yorkshire Button itself.
What did I find?
What we do know is that Yorkshire, particularly in the North and North East, played a significant role in the wool trade, thanks to its large sheep population. Wool would have been readily available, making it reasonable to assume it could have been used for small functional items such as buttons. This would not be too unlike when linen and silk threads were used to make other types of buttons like the Dorset button and the Death’s Head because these were materials which were readily available at the time and in that region. This is really just my thoughts and a lot of speculation.
We also know that Yorkshire’s first craft guild was the Weavers’ Gild, which received its charter in 1164 from Henry II. With such a strong weaving heritage, a button made on a small loom feels entirely at home in this region, even if the historical trail remains incomplete. And again I must stress that these are only my own thoughts and speculations. I am by no means a historian!!
Why I love making Yorkshire buttons
Of all the buttons I make, to me, Yorkshire buttons are among the most mindful.
The process itself is simple and repetitive, which makes it ideal for slowing down, experimenting and enjoying the act of making for its own sake. There’s nothing complicated about the basic construction, so once you understand the structure, you can let your hands do the work and quieten your mind.
Because the materials are minimal and the loom is small, Yorkshire buttons are also very practically portable. You can keep everything in a small bag and work on one almost anywhere. You will soon be making a Yorkshire button while travelling, waiting at the doctor’s, or even sitting at the hairdresser’s.
I’ve made many Yorkshire buttons simply for the pleasure of making them, with no particular project in mind. It was purely for the pleasure of having a quiet few minutes. I could experiment with texture and colours and forget that the weather wasn’t great outside, or that the fibromyalgia was flaring up.
Materials
One of the things I love most about Yorkshire buttons is how few materials they require.
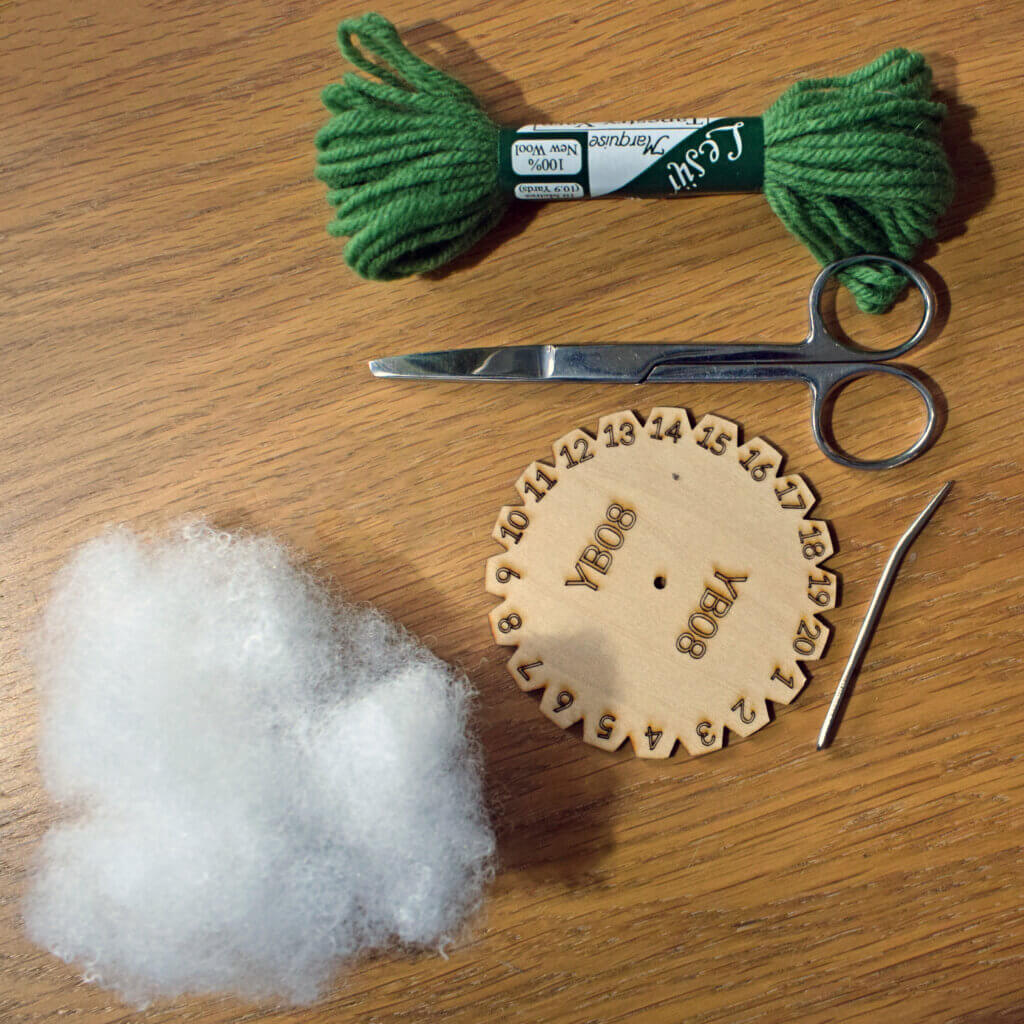
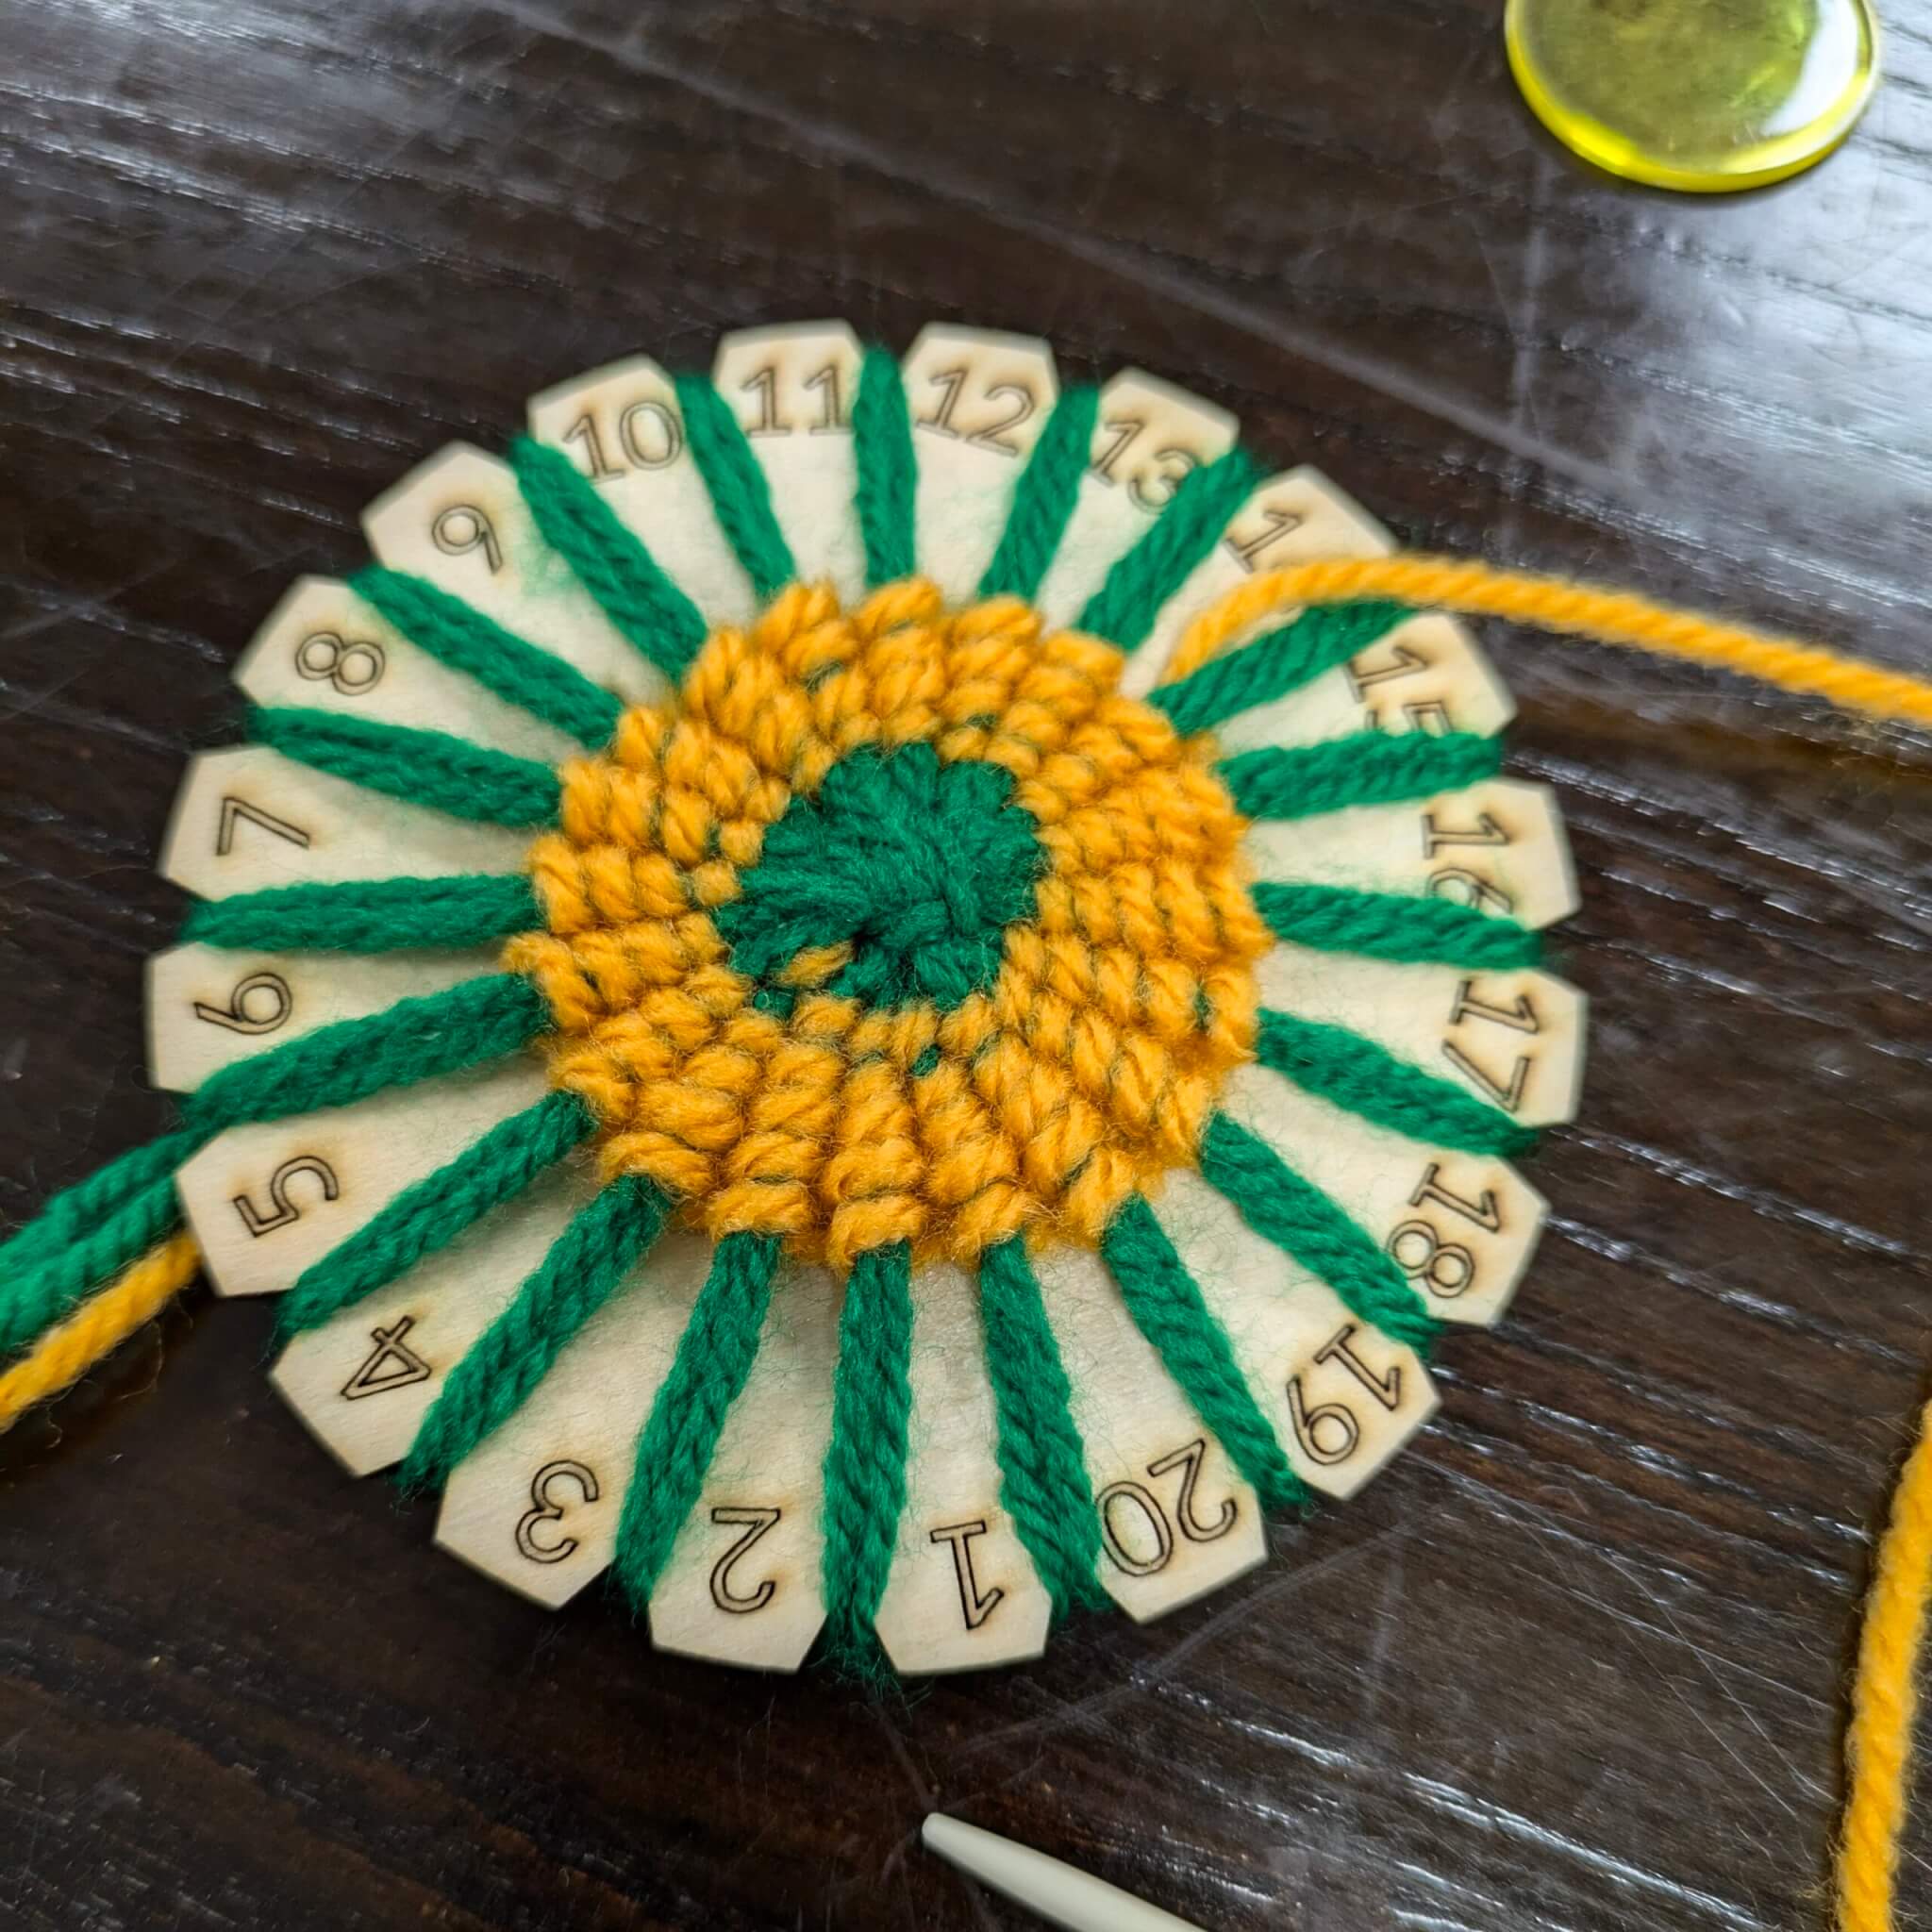
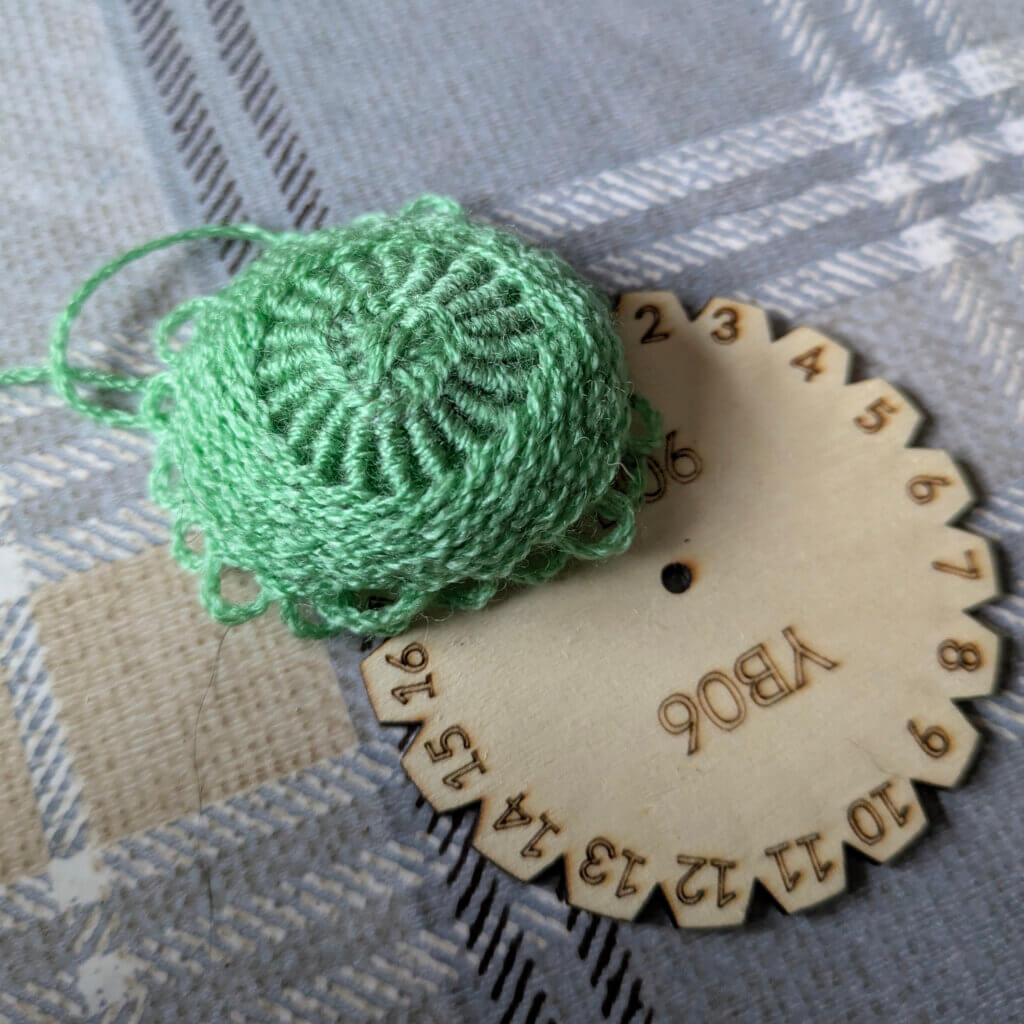
Loom
You’ll need a circular loom which looks very much like a cog and has a hole in the centre. The number of teeth can vary greatly depending on who designed it and the size of the loom. I personally prefer more teeth as it allows for more details in the stitch pattern and so that’s why mine have 20.
I started out making mine from cardboard, like many. It works well but wears out quickly. After two or three buttons, it usually needs replacing.
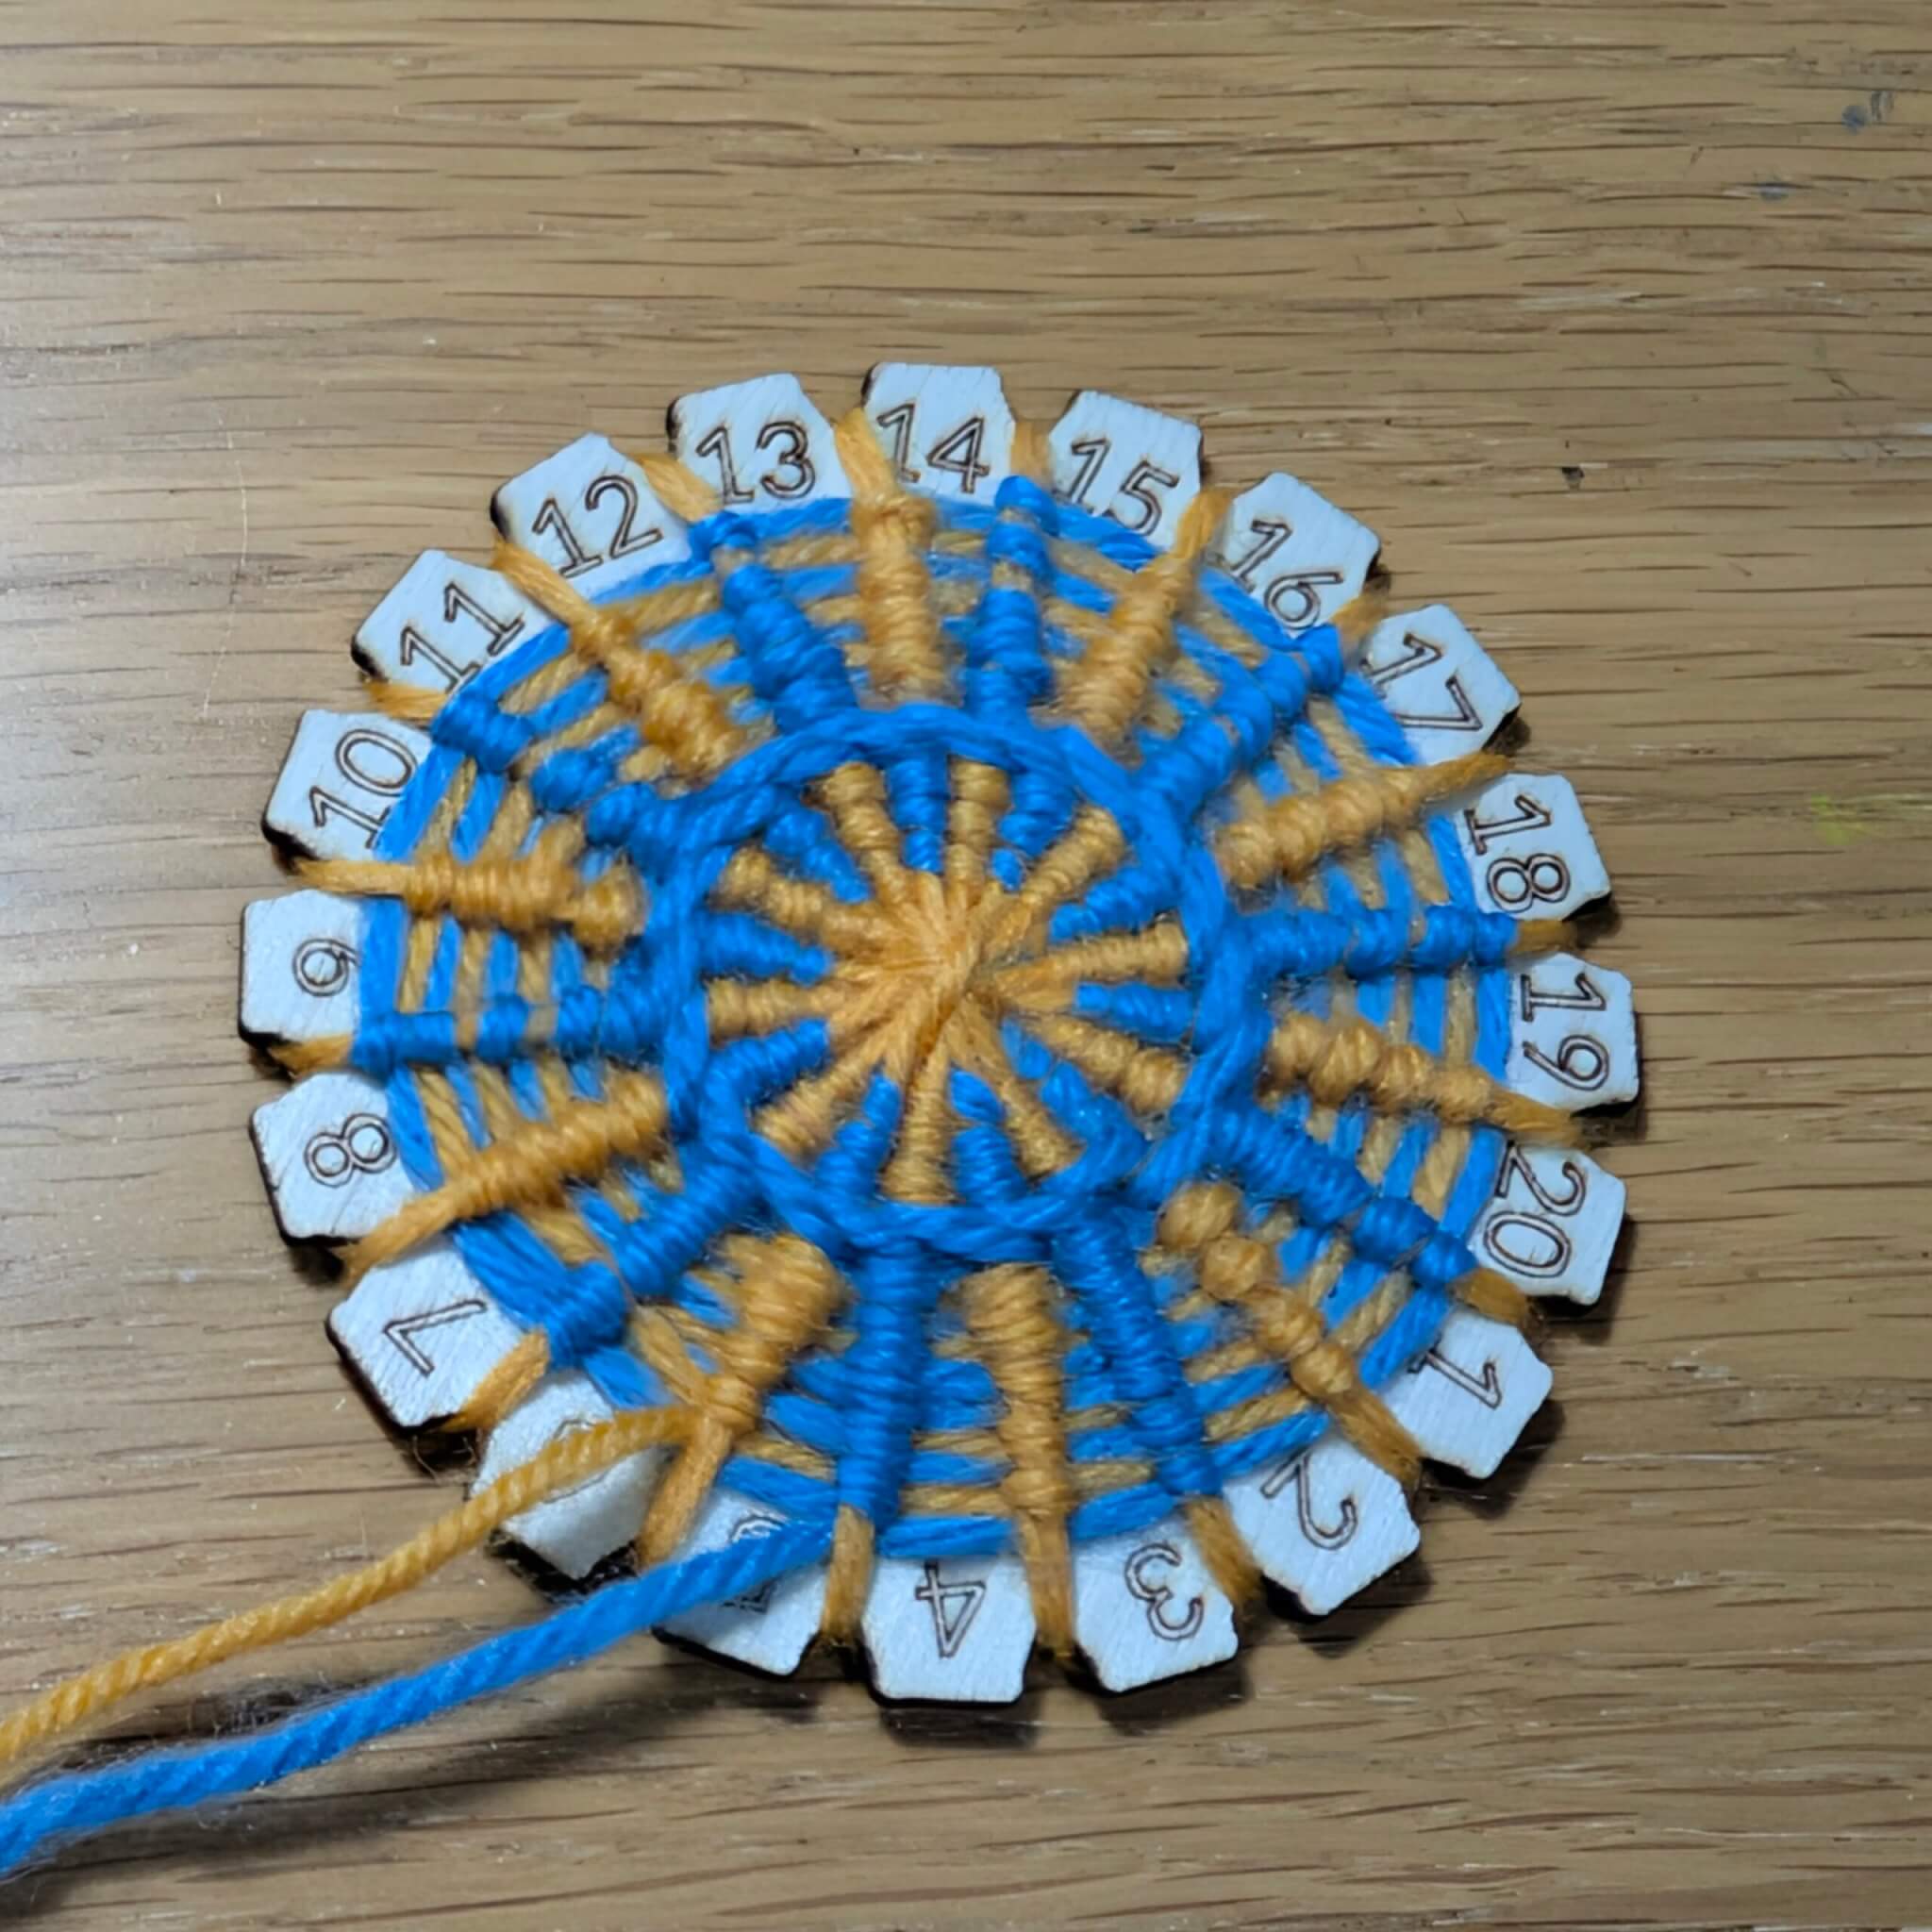
I now use looms made from birch plywood, which are more durable and a more sustainable option than cardboard or plastic.
Yarn or thread
The yarn weight you choose will depend on the size of the loom and the button you want to make. DK weight, tapestry wool, and even 4-ply can all work well with my size 8 loom, whereas the smaller loom may require lighter weight yarn or thread. Yorkshire buttons are also perfect for using up scraps, leftovers, or recycled materials such as yarn reclaimed from an old jumper.
Needle
I usually use a tapestry needle – straight or bent. A bent tapestry needle or a huck embroidery needle can be especially helpful during the weaving stage. For larger looms and thicker yarns, a long wool darner works well too.
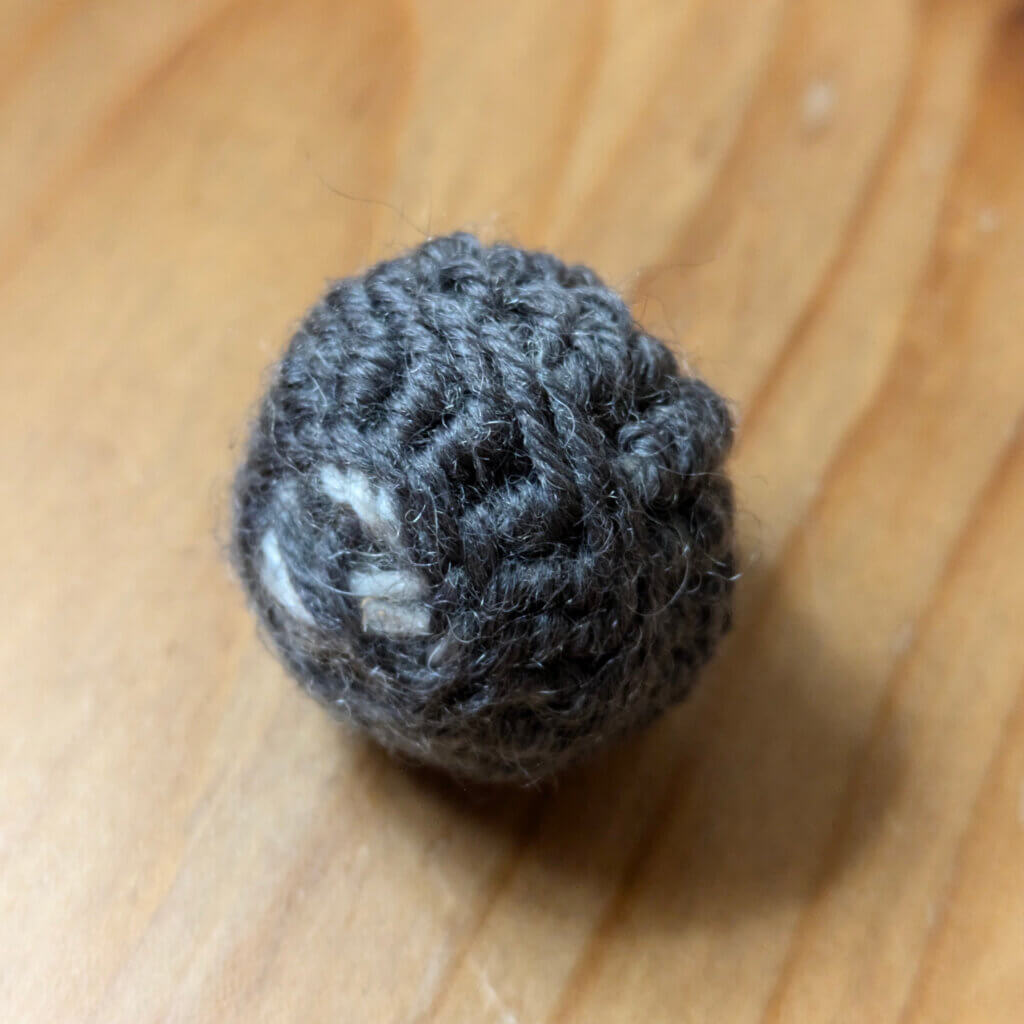
Filler
The type of filler depends on how the button will be used. Options include:
- wool roving
- toy stuffing
- textile scraps (threads, yarn ends, small fabric pieces)
If the button will be washed regularly, wool roving may not be the best choice.
Construction and variations
Yorkshire buttons are very adaptable and you can do so much experimentations with them, with colours and textures.
- They can be made to match a knitted or crocheted garment exactly, using the same yarn.
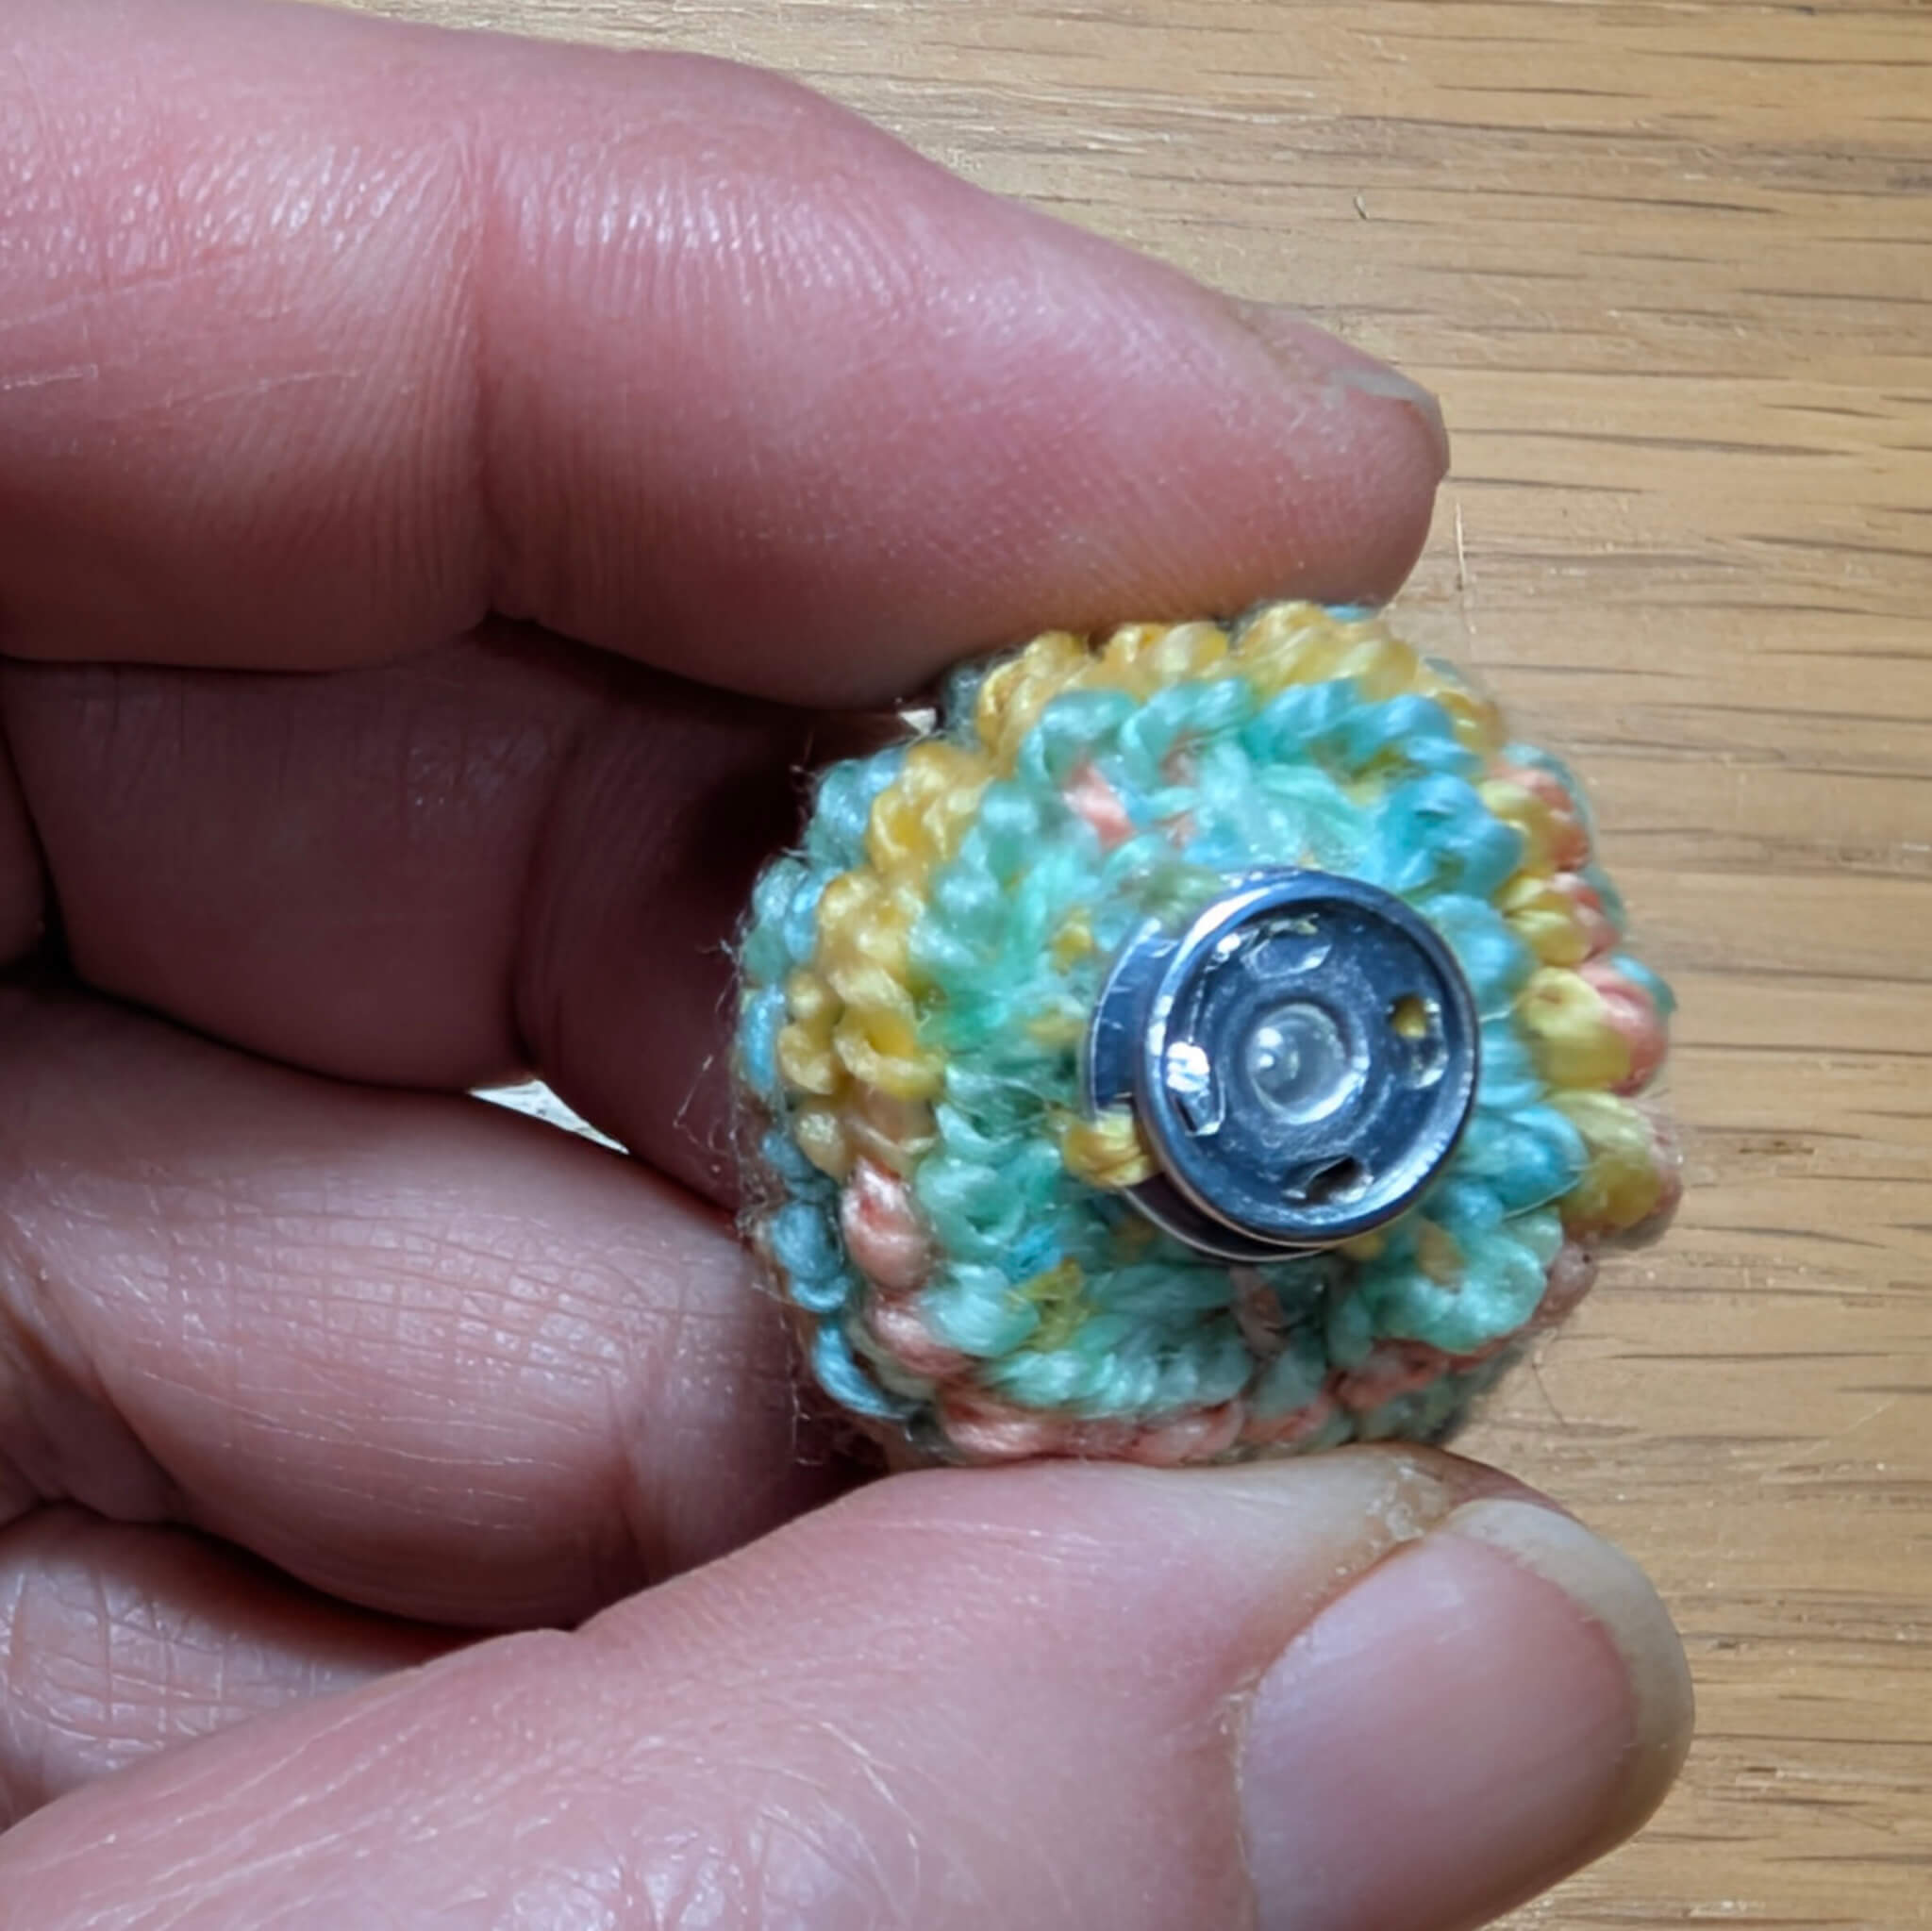
- You can create a shank for sewing the button on, or simply leave a long tail of thread to attach it.
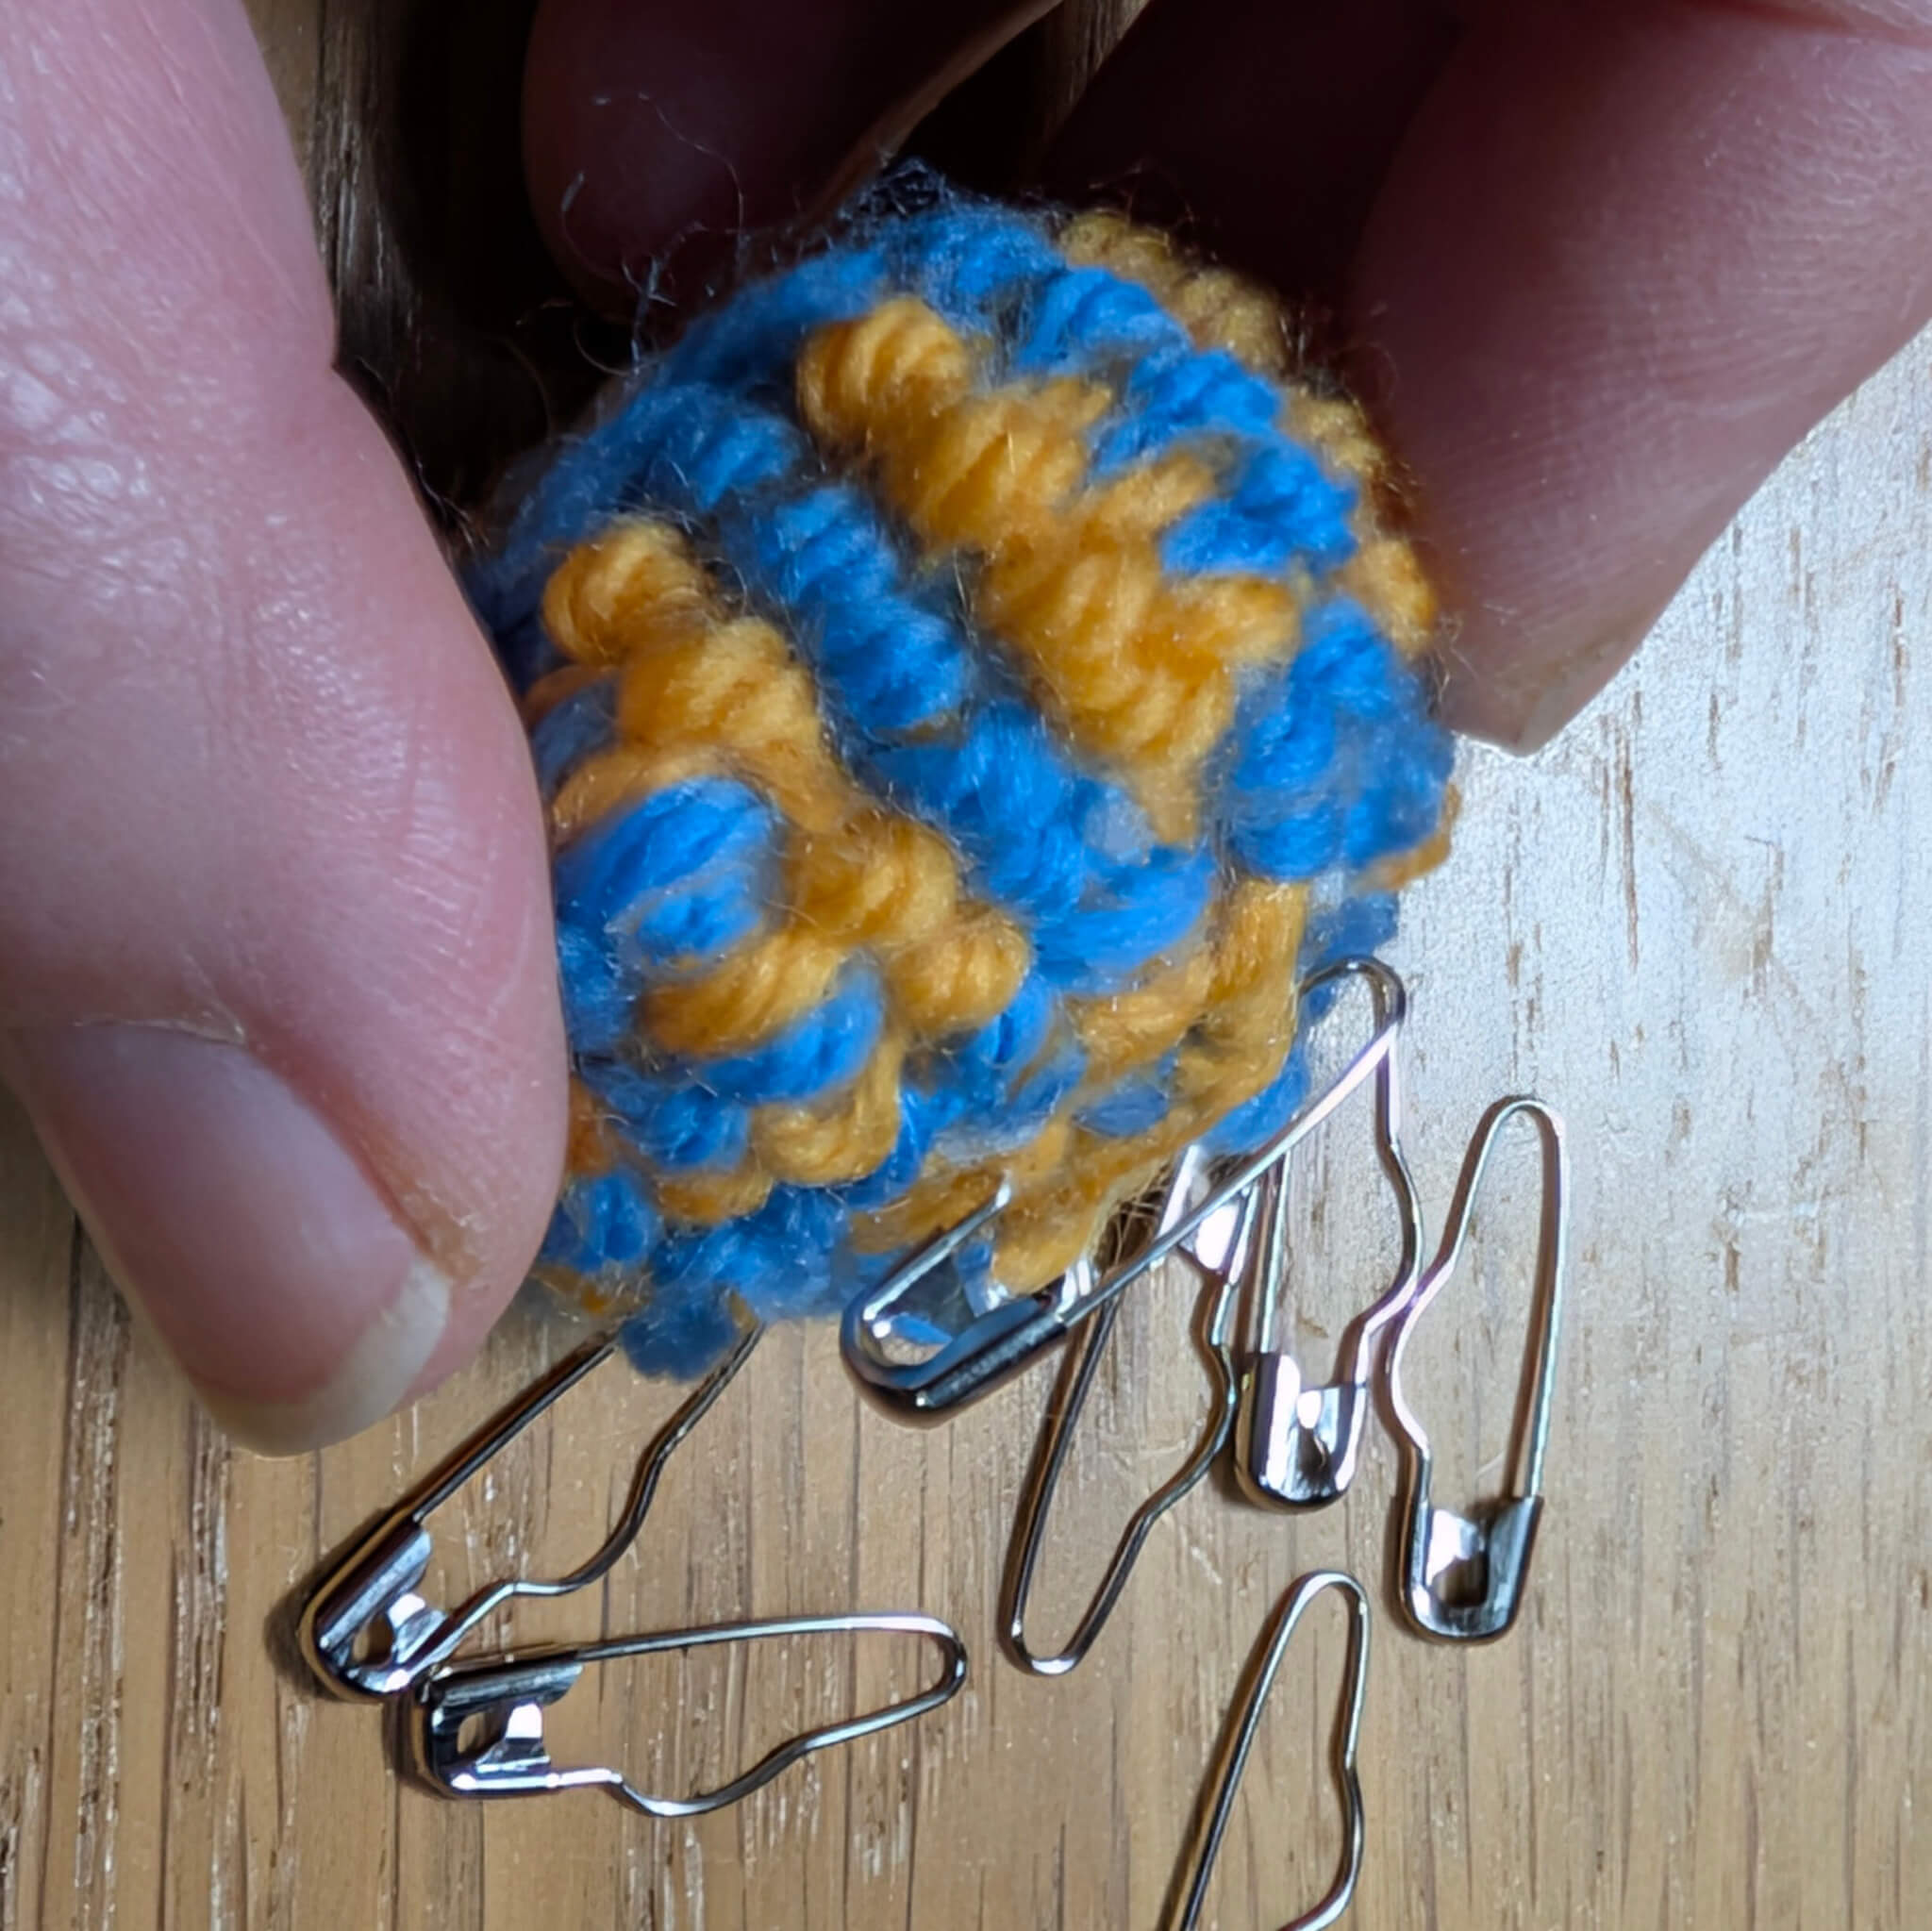
- A sew-on snap fastener or a button safety pin can be added to the back, making the button removable and interchangeable.
Colour can be introduced in several ways:
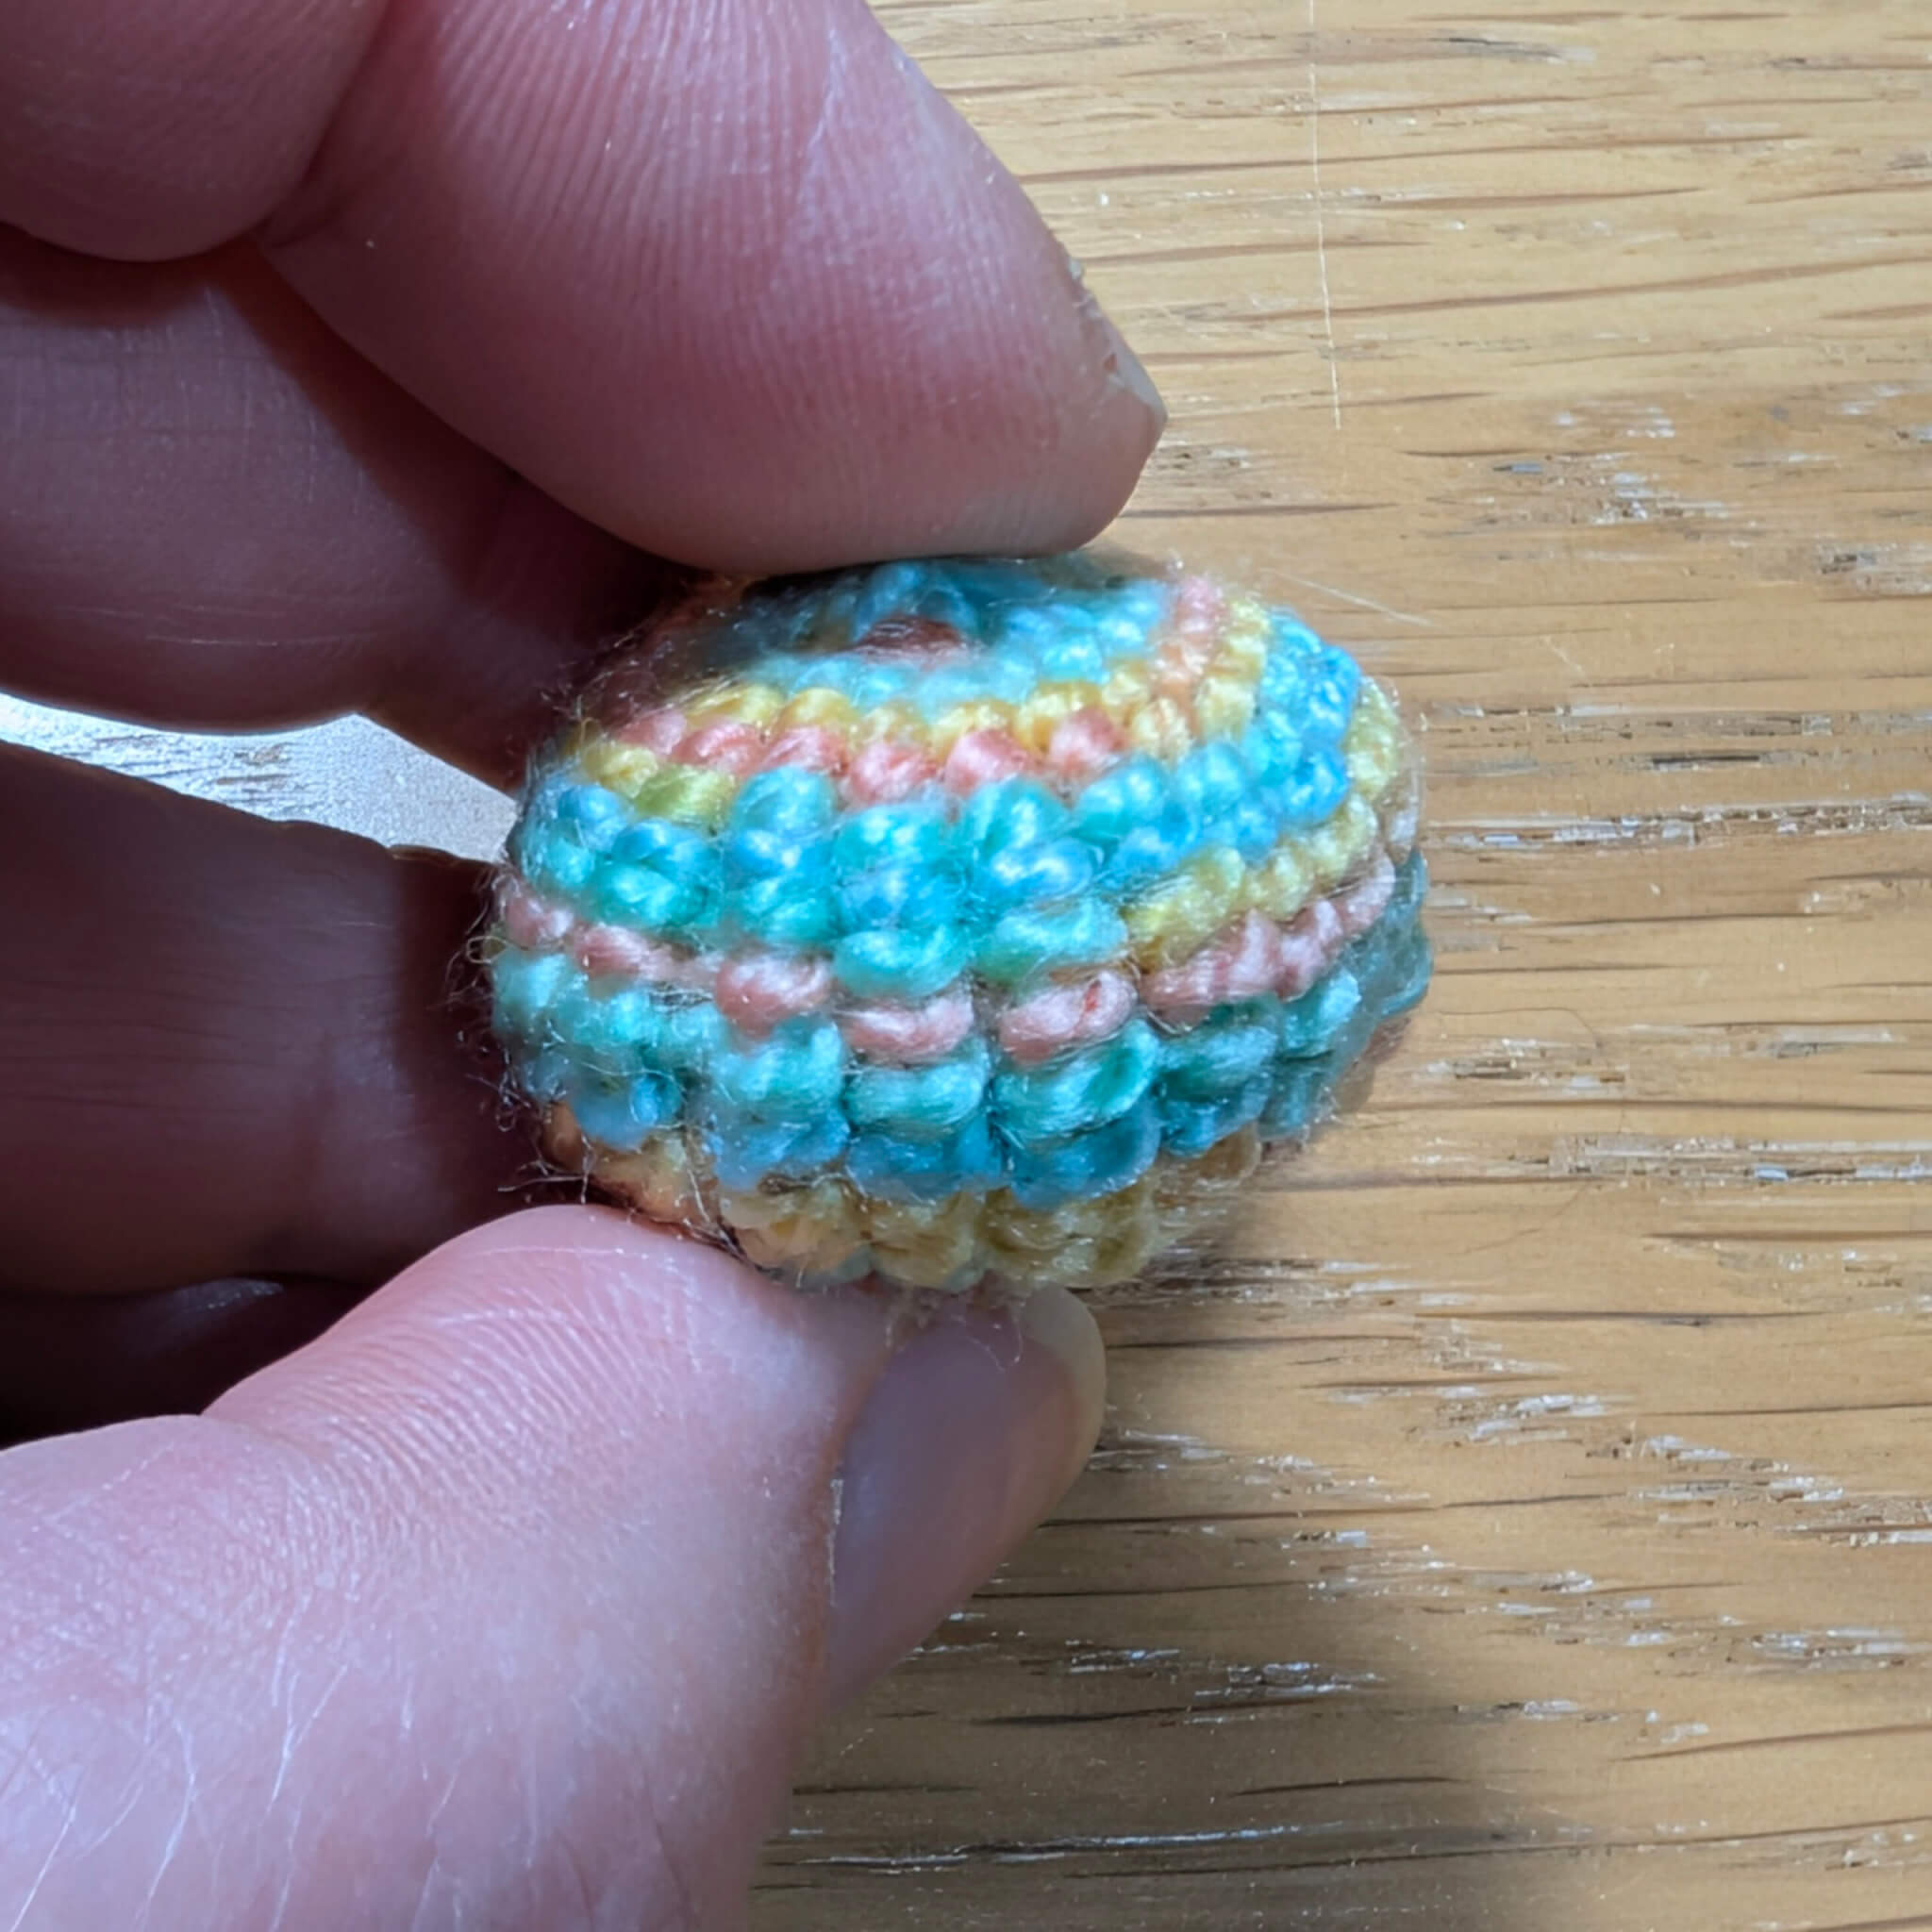
- using multicoloured yarns
- changing yarns between rounds for horizontal colour changes
- working with two or more colours at the same time for vertical changes
- adding embroidery after the button is finished
Texture can also be varied by:
- experimenting with different stitches or weaving techniques during the rounding stage
- using yarns with different textures
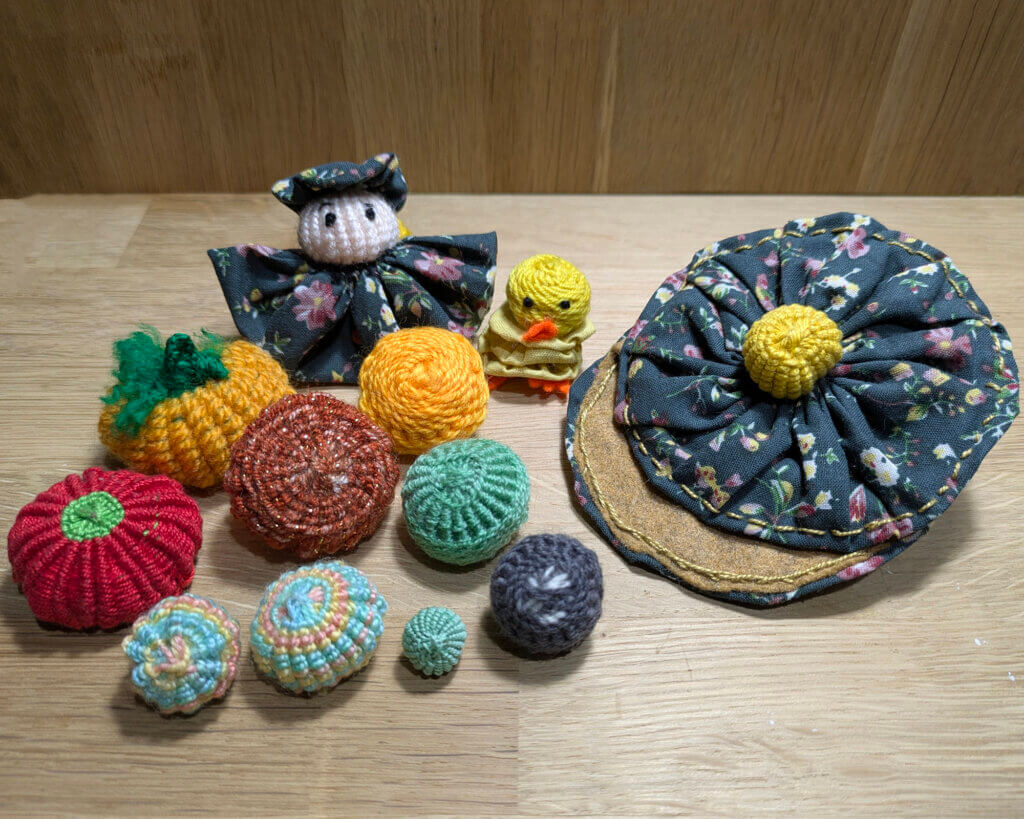
How can Yorkshire buttons be used?
Yorkshire buttons are wonderfully versatile. They can be used as:
- functional buttons for knitted or crocheted garments (especially children’s cardigans)
- ornamental buttons or brooches
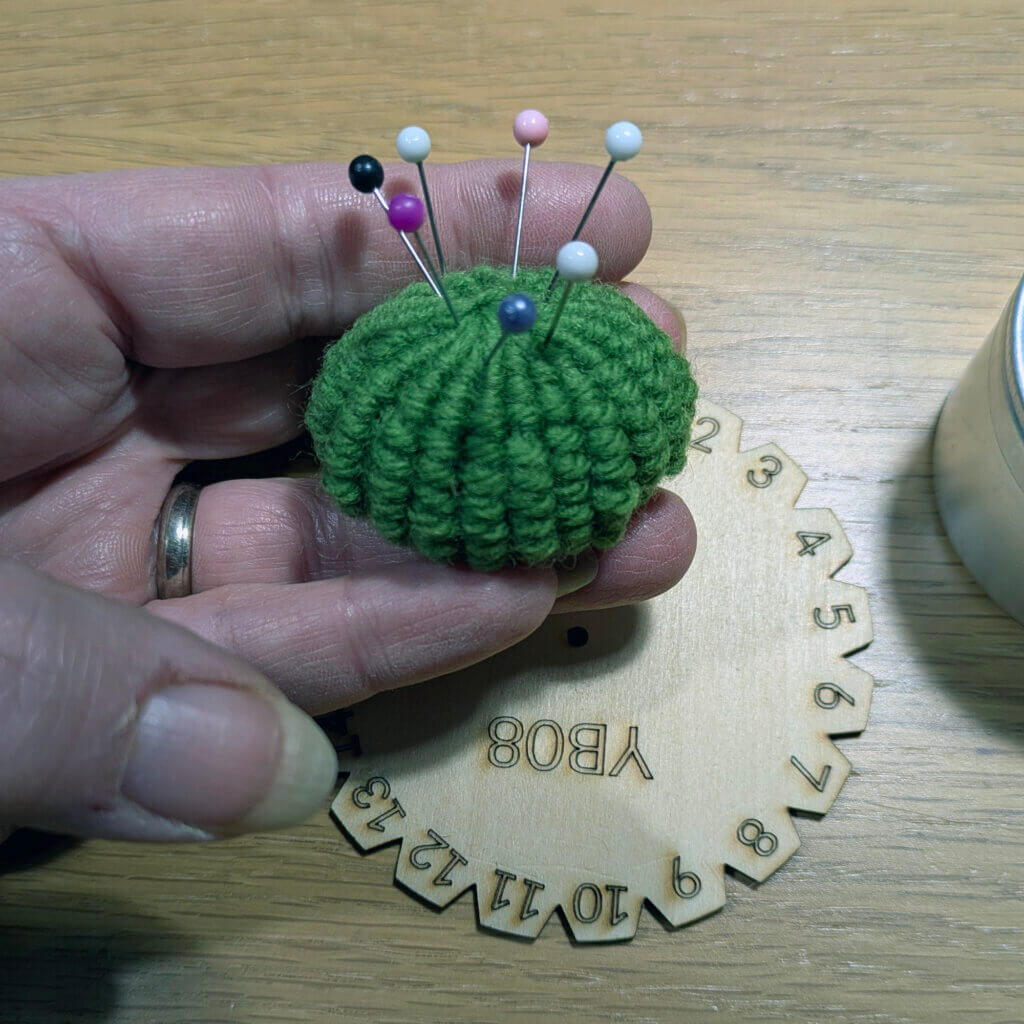
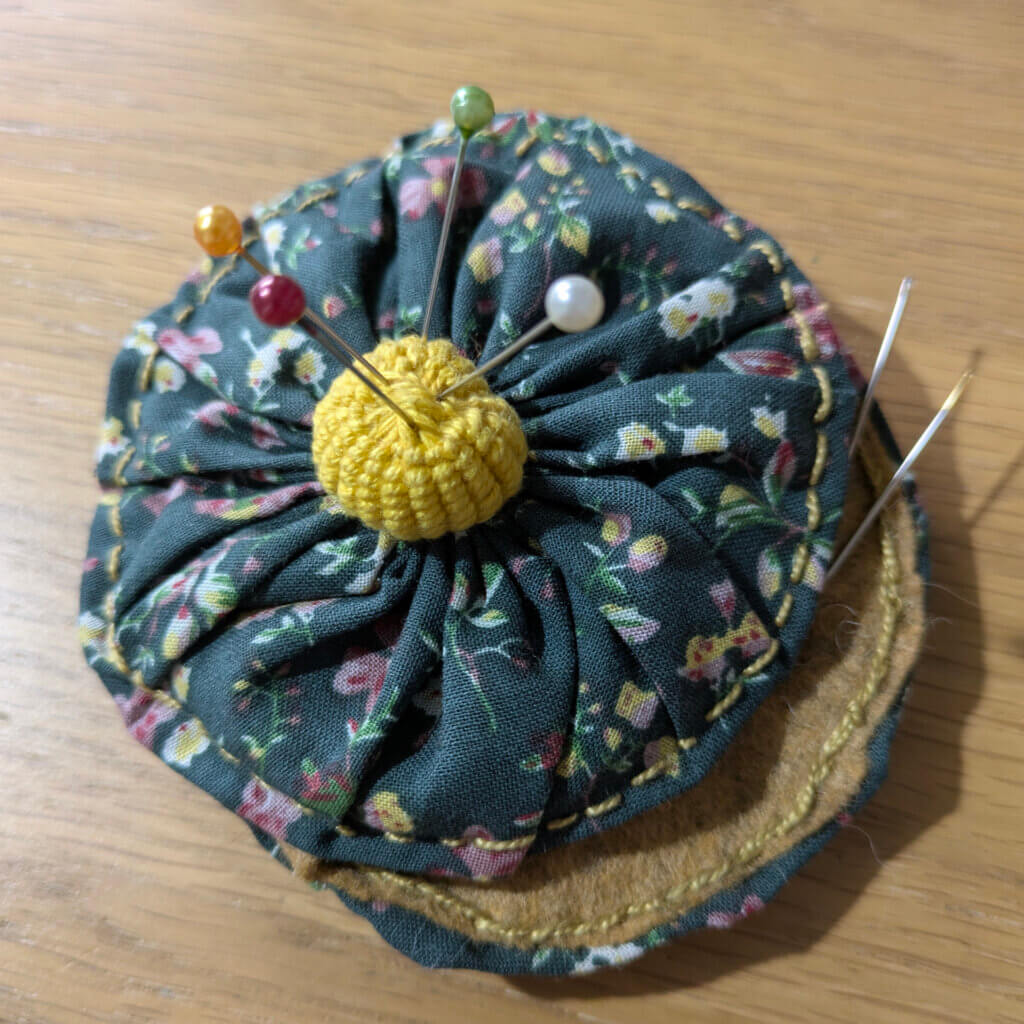
- pincushions
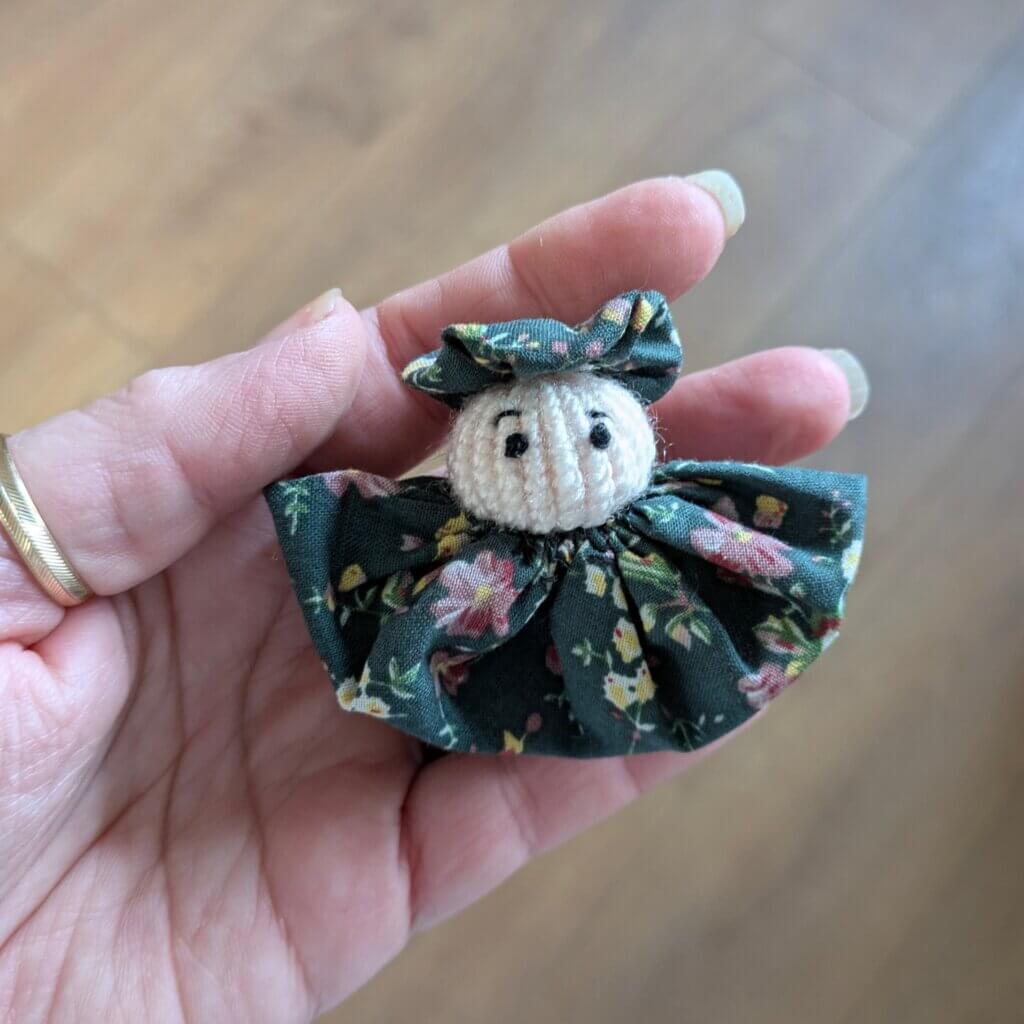
- heads for small knitted or sewn dolls
- pencil toppers
- and so much more!
Make one with me
If you’d like to make a Yorkshire button step by step, I’ve recorded a workshop-style make-along video. In this video, I guide you through the entire process at a calm, steady pace. It follows as per the instructions which are in the Yorkshire button Pincushion Kit in a Tin. The whole video is about one hour long, with the making starting about 5 minutes into the video. At the end of the video, I show you how to make your Yorkshire button into a wrist pincushion.
What’s next?
Next, I’ll be sharing:
- short experimental videos exploring colour and texture in Yorkshire buttons, with another shorter tutorial to make vertical stripes.
- a longer project video linked to a new kit : a needle case
- and, after a short break, the next button in the Button of the Month series… Any preferences? Let me know in the comments!
Thank you for following along, and for supporting slow, thoughtful craft. 🧵🐸
I hope that you are enjoying this first instalment of the Button of the Month project 🙂